Condiments

Pickled Garlic

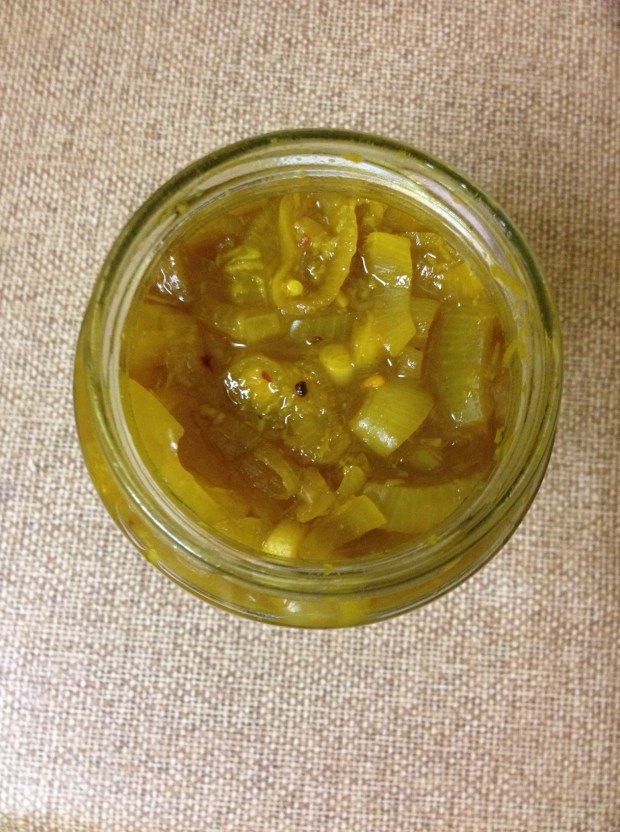
So, I just did this.

IMG_0118.JPG

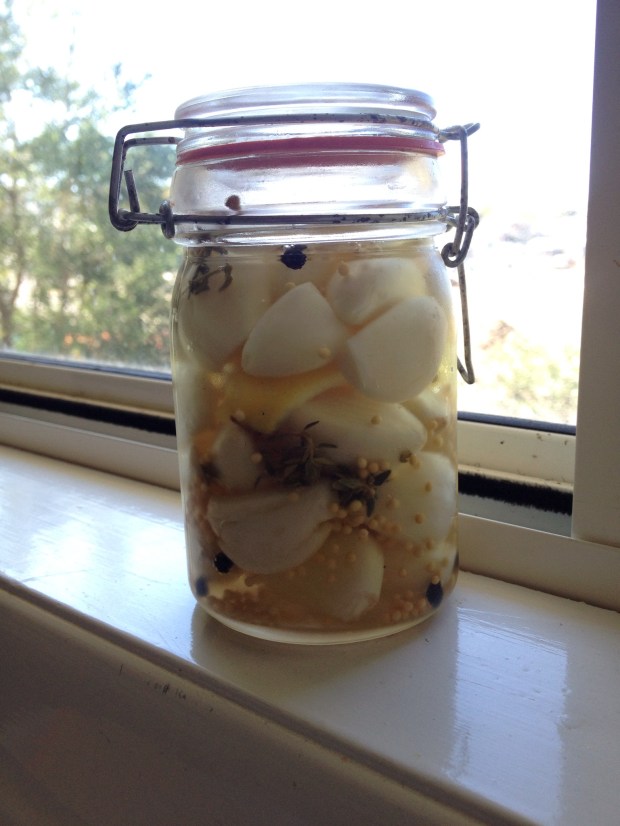
I had a few spare heads of garlic, because we get these food deliveries called Hello Fresh, and they give you a whole head every week.You can use it just like fresh garlic, but I remember eating pickled garlic straight out of a jar on a regular basis. It was just supermarket shelf stuff, so surely home made has to be better right?!

Now, as you know, I’m not one to be particular about  following recipes, so I read a few and got a general idea.

This jar has
1.5 heads of garlic (such a pain to peel, hence only a small jar to start with)
1 piece of lemon rind
A few twigs of thyme
A few mustard seeds
A few peppercorns
A generous few twists of Himalayan salt
Topped up with white vinegar

I sterilized the jar, and I’ll leave it for a couple of weeks to see what turns out.  I’m a bit excited! I always feel so accomplished putting something homemade into a jar!

Advertisement

Xmas Present #3 – Green Bean Relish – In memory of Pippa

My grandmother (Pippa or Lorraine) used to make the best green bean relish. I’ve recently had memories about it after she passed away last year, and have been trying to recreate it. (Family members reading this, if you have any idea where the original recipe could be, please let me know!)

I’ve discovered that there aren’t many people in the world who know about the delights of Green Bean Relish, but I am changing their ways.

This is the recipe I’ve come up with, and I have to say its pretty darn good… with eggs in the morning, sandwiches at lunch or meat in the evening. Again, its also a pretty low cost thing to make, and could be used as a very delicious gift!

500g green beans
2 brown onions
1 cup water
1 cup malt vinegar
1/3 cup brown sugar
1 tblsp mustard seeds
2 tsp turmeric
salt and pepper
2 tblsp corn flour

Basically, I just chopped the beans and onions, and put all these ingredients in a pot for about an hour. After an hour, I put the cornflour in a jug, and mixed a bit of hot water with it to make that white milky consistency. Note, I tried this by ladling some of the liquid out of the pot, but it didn’t work, it was too lumpy.
Pour the cornflour mixture into the relish and stir and allow to thicken. It depends how thick you like it, but you could put more in if you like it thicker.

Enjoy!

Xmas Present #2 – Cinnamon Almond Butter

I’ve been busy again this week, creating home made gifts. This is one of my faves, so if you get one of these, you know that you’re dearly loved by me. Its soooo easy, a thrifty christmas present, and nutritious and delicious. I usually do a regular version just sweetened with honey, but this is a bit special for Christmas. Delicious on toast with slices of apple. That’s my personal favourite way to eat it.  Here’s how you do it!

Cinnamon Almond Butter

Almonds. It doesn’t really matter how many you do, I did about 1.2kg and got 6 x 250ml jars.
Coconut Oil
Cinnamon
Brown Sugar
Pinch of salt

If you like a nice toasty roasty flavour, then put your almonds on a tray, lather them in coconut oil, a bit of the cinnamon and sugar and toast them in the oven for about 15mins. Set aside to cool.


Then, put them in the food processor and blitz! Well, add brown sugar and cinnamon to your taste, and turn the machine on. Depending on how good your machine is, it may take 15 mins or an hour. You’ll need to scrape down the sides pretty regularly, and just keep going until all the oils come out and its nice and thick and goopy.

Put it in a nice airtight jar, put a label or a tag on it and you’ve got a healthy eating christmas gift!


Xmas Present No.1 – Tangy Blueberry Vanilla Jam

This is a great thrifty present idea, delightful, delicious, and much easier than you think. It’s a bit more effort than a voucher but people love home made gifts.

TANGY BLUEBERRY VANILLA JAM

10 cups frozen blueberries (I get them from Aldi, they’re great and cheap)

1 cup sugar

juice of 1 lemon

Pinch of salt

Vanilla essence

Put everything in a pot, mash the blueberries up a bit with a potato masher, and cook for about 35 minutes, or until thick.

Here’s a trick to tell if the jam will set:

Put a plate in the freezer, drop some jam on it, put it back in the freezer for 1 minute, and if it forms a skin it should set fine!

This recipe yields about this much: